The business that succeeds is the business that stands out from the crowd. Nowadays, there are a lot of ways entrepreneurs can DIY their way to (local) stardom in business with standout techniques that bring customers in by the busload. Let's talk about adding a window graphic to your company's storefront doors.
One of the most effective is to use graphic decals on your public-facing real estate. If your storefront is mostly glass, you may have considered taking the plunge and adorning your front doors with an eye-catching splash of color for low, low prices.
There is a right way to get it done that can save you some real headaches. Here are a few of the best practices to follow:
If you’re a little obsessive about these things, then you know how utterly infuriating it can be when graphics look like they have some weird disease because of all the air bubbles and odd bits of debris that were trapped during installation. When you want a clean look to your final result, begin by cleaning your installation area thoroughly.
Do you own a squeegee? You should if you intend to install decals on your windows. It’s best to wash your windows and their frames thoroughly with a soapy sponge, just like you would wash a car. Work from top to bottom, concentrate on the details and work on one pane at a time.
When it’s clean, and there’s plenty of soapy water on the glass, grab your squeegee and work from the top down in smooth, overlapping strokes. Watch a video on how it’s done if you need to.
Finish your prep by measuring the area where the decals will go and performing a dry run of the installation by holding up the graphics in the general area you want them to end up.
Procure for yourself a generic spray bottle (you can repurpose an empty one). Fill it with water and about six drops of dish soap.
Once your graphics are ready and in hand, spray the surface you intend to install them on, ensuring that you overspray the largest dimensions of the decal (which you measured) by about six inches. Make sure you don’t leave any dry spots.
Next, prep your decals by peeling off the backing and thoroughly wetting the back surface (which will contact the glass) with the spray bottle. Once both the window and the graphic are soaked, you can introduce the decal to the glass.
Since everything is soapy, the graphic should be very easy to reposition on the glass. Align it precisely where you want it to go. Don’t worry about the bubbles right now, as the next step will eliminate them.
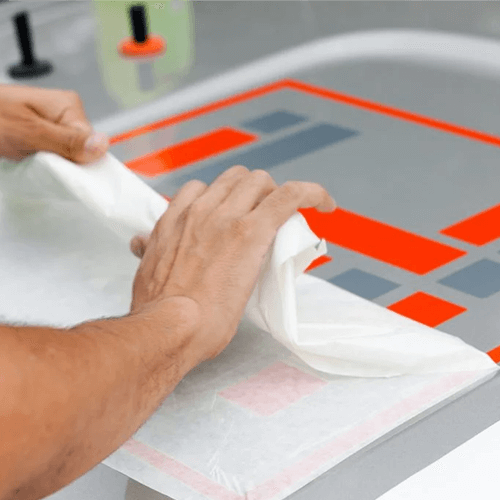
The first thing you need to remember about using your squeegee properly, especially on your expensive and precious decals, is to always keep it wet. Never, ever use a dry squeegee on your graphics as you will mar or rip the material.
Once your graphics are in place, spray the top surface with plenty of soapy water so that your squeegee can do its job properly. Work the bubbles toward the edges gently but firmly, starting in the center.
You can also use your hands, as long as they’re soapy. The idea is to reduce friction so you can glide over the surface of the decal. It shouldn’t move at this point; only the bubbles will move.
Pay attention to areas where the graphic was folded for shipment (if applicable). You may need to begin there, working perpendicular to the fold to smooth it out, then work your way toward removing all the remaining bubbles.
Once the decals dry, they should stick with no problems, especially if they’re under cover. If they’re exposed to precipitation, or if the decal instructions tell you to do so, you may have to set the glue by warming the surface with a heat gun (a glorified hair dryer).
Work in circles and keep the tool moving so that you don’t blister or burn the material. If any bubbles remain, a quick poke with a razor blade should allow you to release the air and press the blister down.
Contact CDF Distributors to add a window graphic to your company's storefront doors. From door kits to hardware, we make it easy to find what you need.