As the leaves change colors and the fall breeze sweeps in, building maintenance needs change as well. The temperature drops, and the heating bill shoots up. To better prepare for the winter chill and save money on the electricity bill, try weatherizing your doors with a few simple techniques. It only takes a few minutes and some inexpensive sealing supplies to increase ventilation and weather proof your doors.
-
Identify Trouble Spots
First off, make sure the door is closed firmly every time it’s closed. This will help with the simple air leakage issues. Next, check for any small leaks or drafts around the edges of the door. Even 1/8 of an inch beneath the door can let in as much air a halfway open small window. Before sealing off the breaches, it’s important to first discover exactly where the leaks are. There are a few different techniques for this, and most work best at night:
- Light Check: Turn off all the lights outside your house. Then step outside and check where you can see any light shining through the sides of the door.
- Candle Trick: Make sure the door is shut as firmly as possible. Hold the candle close to all the edges and work your way around. Look for any spots where you can see the flickering. That’s where you’ll need weatherproofing.
- Paper Test: Test if you need additional sealing by sliding a sheet of paper beneath the door and closing it. If it comes out easily without tearing up, you’ll need additional draft protection.
- Spot Marking: After finding the little gaps, use some tissue paper to stuff them and easily identify the places for future filling.
-
Draft Sealing
Weatherproof your doors by sealing all the breaches. Not only can you seal out drafts and energy loss, but also you can prevent leaks of moisture, dust and bugs. This will also help stop mold growth and improve air quality. This will help with resident comfort and health.
- Quick Fix: Stuffing rugs or other simple draft guards is one way to prevent floor drafts. For immediate relief it will help improve the air leakage situation. However, for more permanent weatherproofing, you’ll need to use some plugging materials.
- Adhesive-backed weatherproofing rolls: These are a cheap and easy option. They’re very user-friendly as well. Since you’ve already identified the specific spots, simply peel the backing off and firmly place it in cracks. Make sure you’ve thoroughly scrubbed the area with soapy water and dry it off before using any sealing method.
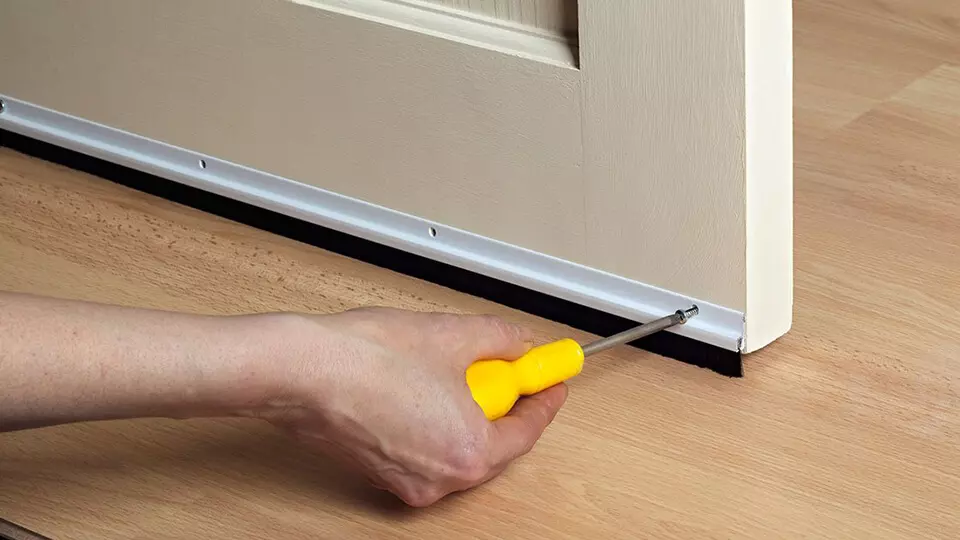
- Install door sweeps: This is another long-term sealing method, and they’re easy to use. This will help primarily with additional floor space. Once you’ve purchased the sweep, you’ll need to cut it to fit the door. Complete the installation while the door is shut to ensure it makes contact with the floor. When you have the right length and floor contact, screw in the door sweep. Combined with other sealing methods, the rubber flap will provide a thorough separation from the outside.
- Use Caulk: At an average of $5 for a 10-ounce tube, this is an inexpensive and speedy method to seal off drafts. Make sure you grab the exterior latex-type caulk for best results.
-
Attic Doors
Attic doors are often poorly sealed, which leads to extensive energy loss. Consider installing an attic tent to protect unwanted leakage and save on your energy bill. The tent is an access insulation cover designed to stop air infiltration from the attic flooding into your home. This way you can more effectively seal off the area, since it most likely won’t be lived in.
Now that you’re aware of how to identify trouble spots, seal off the leakages and thoroughly close off the attic, it’s time to get to work. Remember with just a few minutes and DIY supplies, you can significantly decrease your energy bills and utilize temperature control. Contact CDF today!
October 10, 2016
Wayne Foreman
